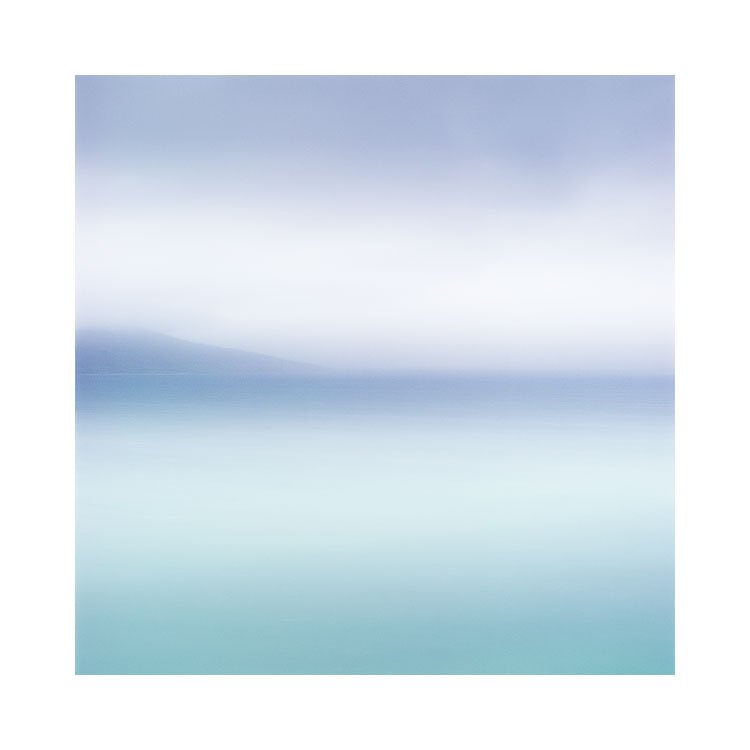
Fuji San

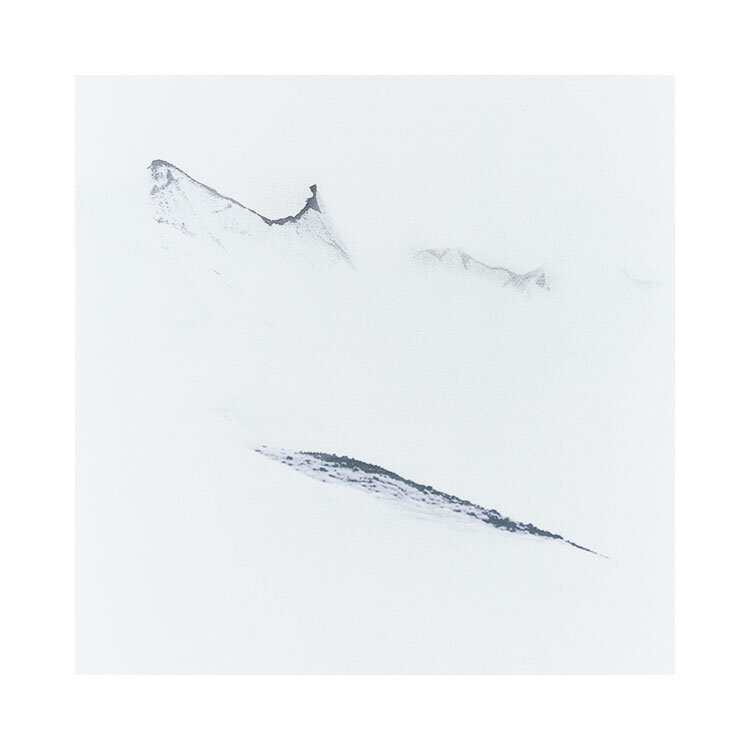
It’s just so nice to photograph a new place. This past January I spent a week around Fuji San (this is the Japanese name for mount Fuji. San being a word of respect, much like “mr” or “mrs”).

The mountain is one of three sacred mountains in Japan, and there is reason to understand why so. It is a commanding presence when visible. But it is often hidden behind banks of clouds for days upon end. When it does appear, you feel as though you are with a great presence. It seems to have a commanding power over those who witness it.

The conditions this winter time were the best I could hope for. It is unusual to have it snowing around the mountain, or for snow to come so far south (Fuji San is just a few hours away from Tokyo). But Tokyo experienced some snow fall while I was visiting the mountain.

I always like to work in changeable weather conditions. Sunny days do not do it for me. They are one dimensional in terms of light and lacking in atmosphere. I much prefer inclement days, or what most might say are ‘bad weather days’. I had thought that by now, most landscape photographers would know that photographing in rain, or when it’s foggy or difficult can produce more interesting work but I still see comments from time to time about how bad and difficult the weather was in Scotland for instance, when I think this so called ‘bad weather’ is one of the benefits of visiting Scotland. You are often able to work in different atmospheres and qualities of light.

It is so easy to judge a place on one visit. To go home and think this is what it’s always like when you go in January. But I think this isn’t always the case with Fuji San. What is guaranteed however, is that the mountain will disappear for days on end. Planning to come and photograph should be taken with the view that you may not see the mountain at all.

As with all photographic endeavours: anticipation of a guaranteed outcome is never good. Come assuming you may not see the mountain at all, and take anything else that you are given as a bonus.

Share

Glacial Outlines

I’ve just set up a new tour to the interior of Iceland in the winter time. For those minimal black brush strokes you can see in the gallery below:

I feel I kind of lost my wind a bit this past 3 years. The whole covid thing really derailed me, and although I feel I’ve turned a corner last Autumn, I am realising now, looking back at this work, how focussed I was back in 2020.

An explanation of the photos above: what you are seeing is black ice and gravel protruding through during a white out.

I seemed to go very minimal around this time (2020). I quite like the abstract nature of these shots although I think I would be preaching to a limited audience on this one. But witnessing the glacier in a white out is so much more different from making photos of it. Scale cannot be comprehended and then there is the issue of lost 3D interpretation, which was lost while standing in front of the glacier. My mind had to figure out what each of the lines meant and how they related to one another.

I don't suppose this collection would appeal to many folks out there. But that isn't the point is it? Photography should be a personal thing, a representation of what you saw and what you want to convey to others. It should be as unique as we can possibly make it, and when I look back at these shots, I feel sure that this is what I was doing.

I am returning there next February to run a tour if this is of interest to you.

Share

Jigsaw puzzle

I’m looking back at this image from last year’s Hokkaido tour, as I just revisited the same location a few weeks back. Last year I was able to fit the copse on the right under the centred tree, and do the same with the single tree on the left.

This year, I did not see the same composition at all and it reminded me how difficult it was to get into the right position last year to make this shot work. If memory serves me correctly, the camera was literally lying in the snow, sitting on the floor and my tripod had been put to one side. It was the only way to avoid the side trees crashing into the centre tree.

Tripod height is a major factor in composition. But sometimes I need to go lower than my tripod can manage (I own a tripod without a centre column, but I still find occasions where I need to camera to be lying on the ground).

This is where I think viewfinder design is critical. For my old analog camera, I use a 45º viewfinder, so I can place the camera on the ground and still see the composition. For digital shooters the live view is important, and perhaps an angled viewfinder doubly so.

Share

Xrays / CT scans and film

I’m in Tokyo right now, and I noticed that the airport here had now introduced CT scanners for the carry on luggage.

My friend Bert sent me a link to the YouTube video below. The first half of the video is a bit of pre-amble and padding which you can skip. The other half is what you need to know about X-rays - either traditional or CT.

The upshot is that you should always ask for a hand-inspection for your film. No matter what speed. I had no idea just how much degradation happens each time (even a low ISO) film is passed through a scanner. Subtle colour shifts and lack of contrast / shadow detail are the main things for traditional x-ray machines. But CT-Scanners are more damaging for just a single pass.

This may mean you have to plan your flights: Heathrow for instance has zero tolerance for asking for a hand-inspection for instance. I tend to avoid the bigger airports when I can.

If you want a quick summary, this is how I see it:

With Regular X-RAY scanners, it is best to ask for a hand search whenever possible. Avoid lead bags as they will boost the X-RAYs. Travel with ISO’s less than 400.

With CT-Scanners, surprisingly, there is less to worry about in terms of salvaging your films. There is no ‘oscillation wave’ across the films from the scans, which is impossible to remove. What you do find instead is a loss of shadow detail in your films. The upshot is : get the films hand inspected, or perhaps better, find a local film processor to process the films for you.

What I did take away from most of this review, was that film is compromised at some level when scanning through an airport.

I had always been worried that my films might be unusable. I thought that was the only variable at play, but it is now apparent to me that when passing film through any scanner, you lose quality.

When you are dealing with trying to optimise your images by using the finest lenses, etc, then this just tears apart the idea of trying to maintain absolute quality: whatever you do, the final results are at the mercy of the airport scanner, and you may come home with film that is ‘poor quality’ rather than ‘unusable’.

Share

Bolivian Scale

Many thanks to Karsten Weis, for allowing me to reproduce this wonderful image of his, from our Bolivia tour back in 2019.

I am always trying to explain to my friends, and fellow photo enthusiasts, just how amazing Bolivia is. I think Karsten does a good job in this photo which sets the scale of the Salar de Uyuni against one of our tour participants.

Image © Karsten Weis, 2019 Bolivia Photo Tour

Scale is a hard thing to convey in photographs. I have simply given up trying to convey it, because for the most part, I think we only truly understand the immensity of a place once we have witnessed it ourselves. But it is nice when I see images that give us a hint of what we might experience if we go there ourselves.

I was first drawn to photography as a way to mark my life: to record my experiences. I haven’t forgotten this as my photography has matured over the years.

I think it is very easy to obsess on the image acquisition part, and forget to remember to be present, to consider where we are, and just be aware of what it is that we are experiencing. Photography is so much more than image making. It is the experiences we have whilst out there in the landscape that add depth to our lives.

I cannot wait to go back to Bolivia this May. It is such a special landscape.

Many thanks once again to Karsten for allowing me to reproduce this image.

Share

Put yourself in a nowhere place

By putting yourself in a space that has no specific ‘main subject’, can be a great learning experience.

Beaches where there is no background subject or foreground interest are ‘nowhere’ spaces that you can use. They remove any chance of you finding a ‘main subject’ (what I like to refer to as a security blanket) with which to work with simplifying your photography.

It can be a daunting experience to be somewhere that you see ‘nothing to photograph’. I would suggest that the best way to start is to simply get the camera out of the bag and set it up and switch on the live-view. This may seem rather obvious but I think it is hard to visualise anything with our eyes by simply looking around.

Something seems to happen to us when we set up our camera on a tripod and aim it at the horizon. What may have appeared to be a nowhere place, turns into something much more when we see it pop up on the back of our live-view. For one thing, cameras see ‘linearly’ so tend to pick up on the subtle variances in tone of the sand or sky. Our eye tend to tell us that the sand is all the same tone when it isn’t. Same for sky. By forcing our eyes to look at the camera live-view, we are now seeing a picture, rather than trying to imagine one with our mind’s eye. It’s a subtle difference but it is a big one in terms of helping you get started.

I have found that doing this in different weather conditions leads to different kinds of pictures. What was first thought of as a place that has nothing, can soon turn into a place that offers up so many possibilities each time you return.

What was considered empty soon starts to appear to be not empty at all as you begin to work with the subtleties of the tones in the beach and sky. Working with different shutter speeds can also help you turn what might seem rather ordinary into something more visually appealing.

This is why I like to come to the Isle of Harris here in Scotland. Although the landscape is extremely beautiful, it is also extremely absent of ‘main subjects’ to use in your compositions. I have found over my time of working there, that Harris offers a lot in terms of different climatic conditions, which in turn affect the quality of the light, and bring different atmospheres.

I have found over the years that I tend to now seek less cluttered places. It is not because I wish to work on minimalist compositions, but it is just because I have found that the more I work with less, the more I start to see how much there is, still in the frame.

Simple comes in varying degrees for all of us: what you may initially think of as simple, can after a while, appear to be more complex than you had first thought. After some years of working in less cluttered places, I have found it very hard to go back to more ‘traditional’ scenes. They are simply too complex, and have far too much going on.

If this isn’t something you have tried before, then I can only suggest that you try putting yourself in a nowhere place. You may just find that by stripping back the layers, you are able to see that there is yet more to uncover.

Share

Avoiding the Security Blanket

“It takes a while to realise that perhaps the main subject of your photography
is the light itself”

I have always thought that when we remove recognisable objects like trees / mountains etc from our frame, we are left with the most important elements of a photo: the quality of the light.

We are often more adoring of photos that have beautiful light than beautiful subjects. We rarely say ‘what a beautiful subject’, but we do say ‘look at the light!’ So I believe that most of our motivation when we make photos is all about the light. Not the subject. The subject is often an anchor, or something for the eye to latch onto.

I believe truly, that we do not actually need subjects in landscape photographs. We just need variances in luminance and variances in tone to keep the viewer’s eye interested. We just need interesting light.

When we feel the need to put a subject in the frame, we are, In a way using them as a form of security blanket. Perhaps we feel that without a main subject, the image won’t be strong enough? Perhaps without a main subject we feel the viewer won’t know what they’re supposed to be looking at?

When I work in empty spaces, I have learned that I am really photographing the light. I’ve done it so many times now, that I now understand that most landscape photography is really all about the light. Classical subjects such as trees, mountains, etc are secondary, if required at all.

I understand and appreciate for those who haven’t done so, working in empty places can be a daunting experience. We feel vulnerable, if we don’t have a subject. We can feel lost.

It takes a while to realise that perhaps the main subject of your photography is the light itself.

This can only really happen by putting yourself in locations that are devoid of subjects, or are often called ‘minimalist’ or ‘empty’ places. I have photographed in plenty of empty places now, and I’m aware that I am no longer daunted by the prospect of it, but rather seek it now. Because empty spaces allow me to see subtleties in the light, to quieten down the scene. It is only then, and only then, that I may consider adding in a classical subject if I want to.

Even if you like to find subjects to put in your frame, making images in a place devoid of subjects is a really useful learning tool. You may feel vulnerable for a while, but it will teach you how to quieten down your compositions and over time, your appreciation of the more subtle tonalities in the landscape will develop.

Perhaps like me, you’ll come round to realising that the main subject in all of your landscape photos, was always first and foremost, the quality of the light.